Wednesday, January 18, 2012

Week 13 ex4


Exercise 4

1) Apart from their different sizes, it is obvious from Luxo Jr. that the big lamp is “older” and that the small lamp is “younger”. How is this communicated by the animation? Give at least THREE examples.

First example, when the ball rolled towards the big lamp. It doesn't seems to be excited. Where the younger lamp will hop around and chasing over it.
Second example, when the small lamp is chasing over the ball, the big lamp stay at its own position and look at the small lamp as it hop away. It did not follow and all this gave an impression to the audience that it belongs to the mature kind.
Thirdly, after the ball is being flattened, the small lamp look at the big lamp. The big lamp gave a reply by nodding his head, convincing the small lamp that the ball is flattened.

2) Give an example from Luxo Jr of how timing is used for comic effect. Explain how the timing decisions contribute to the humor.

At 0.58, the part where the small lamp jump on the ball and start bouncing on it. Out of a sudden, small lamp just stop his movement. This act make the audience anticipate about what is going to happen next. In a split second, the ball deflated.


3) When you create a joint chain, these form a hierarchy, with the first joint at the top and the last joint at the bottom. Explain why this is necessary for the joints to work properly.

When one wants to control the whole arm, he or she can just select the parent node and the child node will follow. Same goes for animation, if one were to animate the whole arm, be it retracting or turning, one can just select the parent node and shifting it to a desired position and then set key. It would be less hassle rather than selecting each and everything node.

Week13Lab


Sunday, January 15, 2012

Week12


Finally Animation.....

Finally i get to try out some animations on maya. I find it very fun and challenging but i don't really like the part where i have to adjust the graphs and render settings, kinda confusing and hard to do.

Exercise 1-Bounce Ball


Exercise 2
1) Do you need to be able to draw well to create good 2D animation? Explain your view.
To me, one must be good at drawing if the person wants to create 2D animations, this is because the drawings are like the footages of an animation, it totally rely alot on it to produce good animations. It might not be hand-drawn, but sometimes may be created using graphical programs or edited.


2) Do you need to be able to draw well to create good 3D animation? Explain your view.
As for 3D, you need not be good in drawing as 3D objects can be create by using basic polygons and edited using vertices and other components.


3) What do you think would separate a piece of poor animation from a piece of good animation? In other words, how would you go about deciding if a piece of animation is good or bad?

A piece of bad animation is when the audience don't understand the story, doesn't look satisfying. And with all this weak point, it will sure affects the audience's impression on the animator.
A good piece of animation is when the whole animation look realistic. With good audio companion and animation principle added in it. A good story line plays a part too and that's when storyboarding comes in.

4) In 2D animation, you need to be very aware of timing at a frame by frame level, using timing charts and other techniques - but for 3D animation, this is handled using the graph editor, which is more concerned with manipulating rates of change over time.
Does this affect how you approach your animation work? Explain.

Personally, i felt that it's different. In 3D, yes we can adjust the speed of the whole animation by the frame. Using graph editor to edit the the flow of animation, but we still got other components we have to consider, like the camera angle, lightings, different views. But for 2D, we don't have to worry about that, it's all 2 dimensional based, very straight forward.


5) Give a brief critique of Maya as an animation tool. Don't just say Maya makes animation difficult, or easy, or that you need to learn a lot of stuff to use Maya - explain what Maya does well and not so well in terms of creating animation.


I Previously used Maya to model object, didn't get to use the animation part. My first assignment for using Maya to do animation is to create an animation of a ball bouncing over a fence. It was easy but kinda confusing. It was adding in squash and stretch. Here comes the tedious part, to get the flow of the whole animation of squash and stretch. 
To conclude it up, i felt that the placement of the animation tools is kind of messy. Instructions was not clear enough, too complicated. As a first timer, i find it rather confusing and hard to follow
Last Part of the Critique
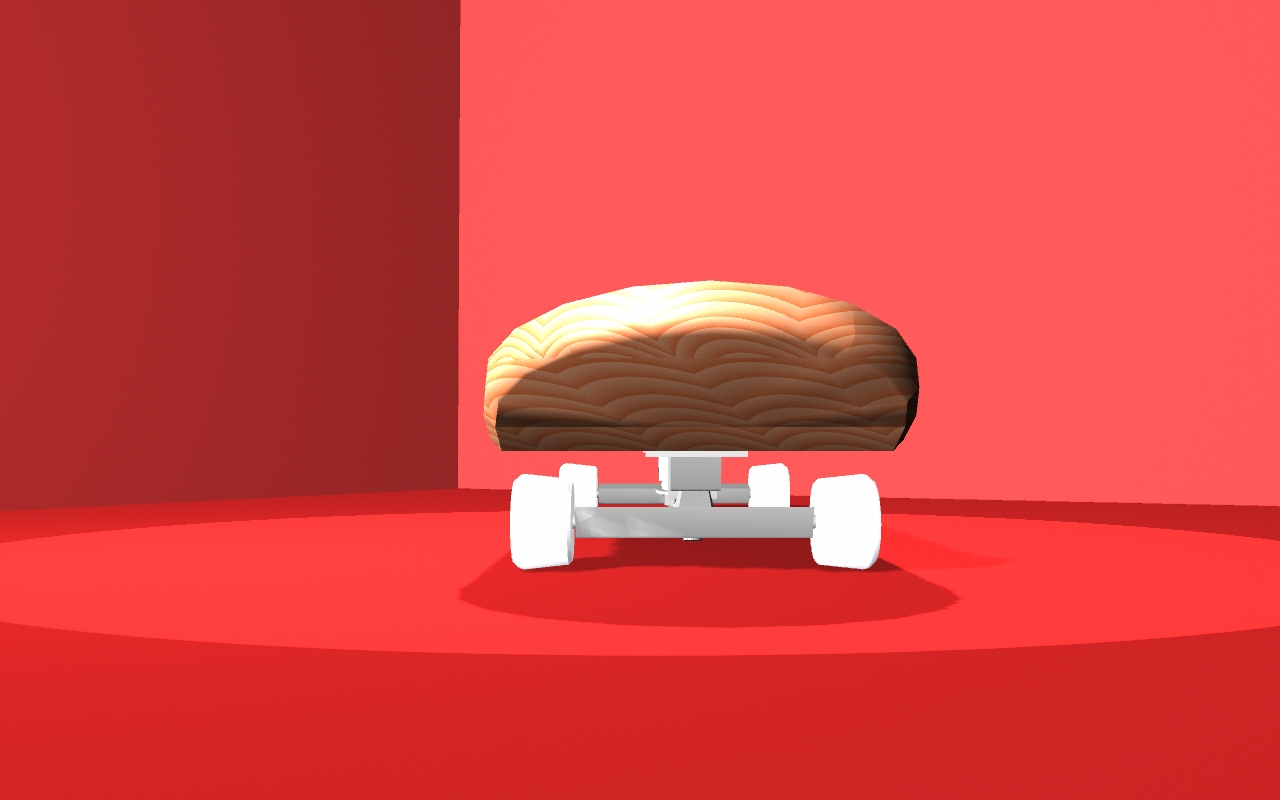
Right now what is left is the texturing and some final adjustments.
Before Texturing
 After Textured
 Front
 Side
 Top

Problems faced when doing the texturing is the materials for the grip, i couldn't find a
suitable material for the rubber grip so i have no choice but to use normal black colour to replace it.
Other than that, overall is still ok.

Monday, December 19, 2011

In3d project part 2

Here comes the next part of the modelling, which are the wheels.

First i made a cylinder pipe,then bevelled it.
Then i duplicated another 3 more.

After some aligning and adjustments, the main wheels is done. 

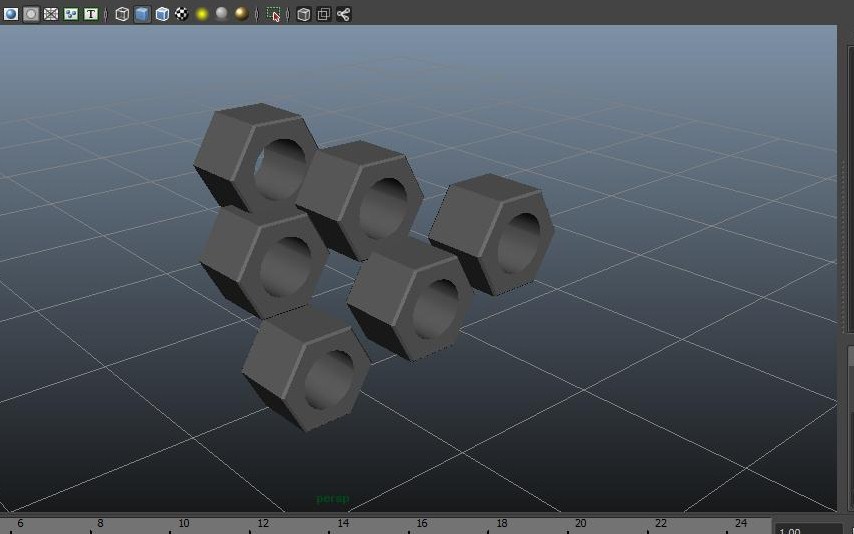
Next comes the screws and nuts, i've made a cylinder with 
just 6 divisions to create a hexagon block.
Then i boolean>difference it with a cylinder in the middle for the screw.

I then duplicated it 5 times for the whole skateboard.

Now comes the truck, i used [create polygon tool] 
to draw the outline of a part for the truck.
Then i used [extrude] tool to extend the plane. 

And i added a block for the top, and after some adjustments....

Next comes the hanger part, and i created it using the 
same tool as the one i used to create the previous piece.
Then i created another block as the neck of the hanger.
After some adjustments....

Now to add in the connectors for the screws
i created a cylinder pipe, tilt it abit so that it connects with the hanger
then i used another cylinder, boolean it to get the space for the nut.

Now i add in the axles... 
Add in the nuts..
And Done!!

Saturday, December 17, 2011

IN3D Project 1

I'll split this critique into 3 parts,the Board,Truck&Wheels and lastly the Texturing.

To start modelling the Board,I'll need to create the basic shape the board consist of 2 semi circle and 1 rectangle.
I first create a polygon cylinder 
Cut it out using Boolean>Difference to create the semi cylinder 

 And my Semi Cylinder is done.

 Next I'll duplicate it and rotate the duplicated one 180 degrees so as to make the opposite end of the board.
 Next i create a polygon block in the middle to be the main.
 Now comes the bending of the two semi cylinders(front and back)
However,i found out that the bend does not bend exactly in the middle
so i'll have to lengthen the subdivisions to give space for the semi cylinders to be able to bent.
  

 After that i used Union to combine them together so that i can bend it together with the block.
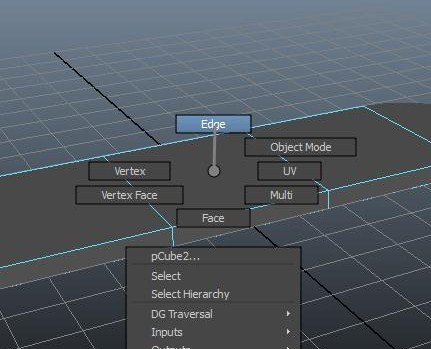
Next i go to Face section to select the faces that i want to bend.
When comes to the bending part, i used rotation however the rotating point is not 
pivoted correctly,so i press [insert] to change the pivot position. 
 After bending the left side,i continue to the right side.
 Now comes the bevelling part
I bevelled the whole board of 0.5 width
But for the two semi cylinders, they seems to be much more smoother
So i bevel it again on the edges itself
 And the Board is done.


Wednesday, November 30, 2011

Story
This is the story of a skateboard that's being abandoned by it's owner. One day a mouse called Bobby sneaked into his room and went running around.Bobby then met another mouse in the room called Rico,then both of them challenge to a race.While running Bobby tripped and flew right onto the skateboard and skated all around the room and flew out of the window when it got hit onto something hard.
Shape
Board-i'll be using the extrude tool to create the bend on the front and back of the board.
wheel-Using the boolean tool to create the hole for the screw.
Truck-Using extruding and boolean tools to create.
Design
I'll be using these picture for reference
Different views
Research
I found this tutorial on the grip texture of the skateboard that i think will be usefull

I also found this tutorial on how to assemble the skate truck and i think it would help me greatly